To help you accurately track initiate checkout events and sales, Explodely now allows you to add your Facebook Pixel in your account. Once your Pixel ID and Access Token are added, Explodely takes care of sending checkout and sales events back to Meta.
By adding your Facebook Pixel, you gain more accurate event tracking and better data for optimising your ads.
This guide walks you through the steps to add your FB Pixel to your Explodely account.
I) Copying your FB Pixel ID and Token
In this section, you’ll see how to locate your Dataset (Pixel) ID and generate a Conversions API (Pixel) access token inside Meta Events Manager.
Follow the steps below, and you’ll have everything you need to integrate with Explodely smoothly.
1. Open your Meta Business Suite and go to Events Manager. On the left sidebar, click Connect Data-> Overview.

2. Select Web and click Next.

3. Then click on Create new dataset.

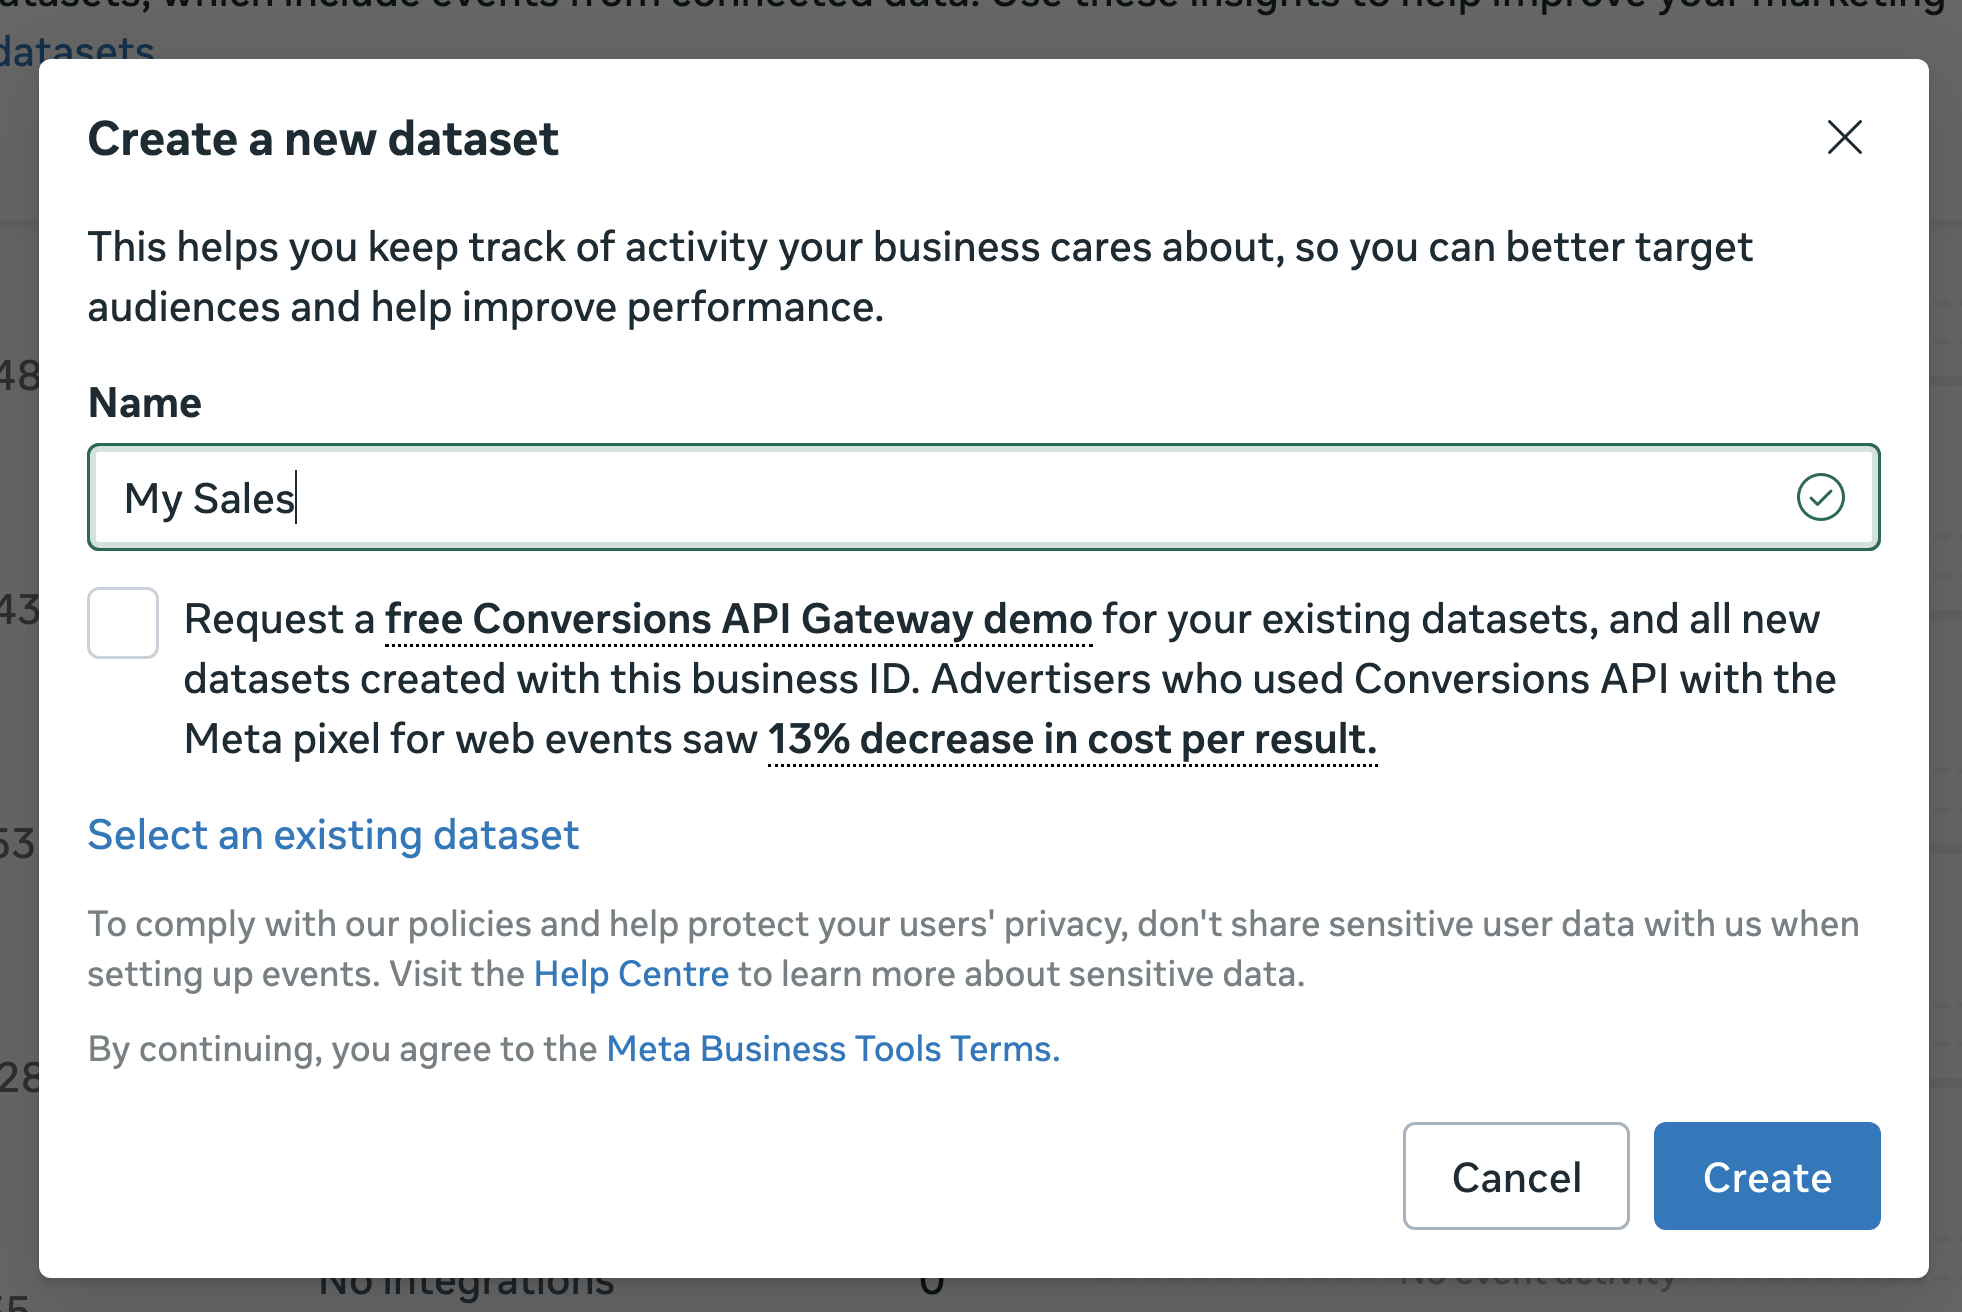
4. Give your new Dataset any name you want and click Create.
5. To locate Your Dataset ID, go to Datasets in the Events Manager and click on the new Dataset you created.
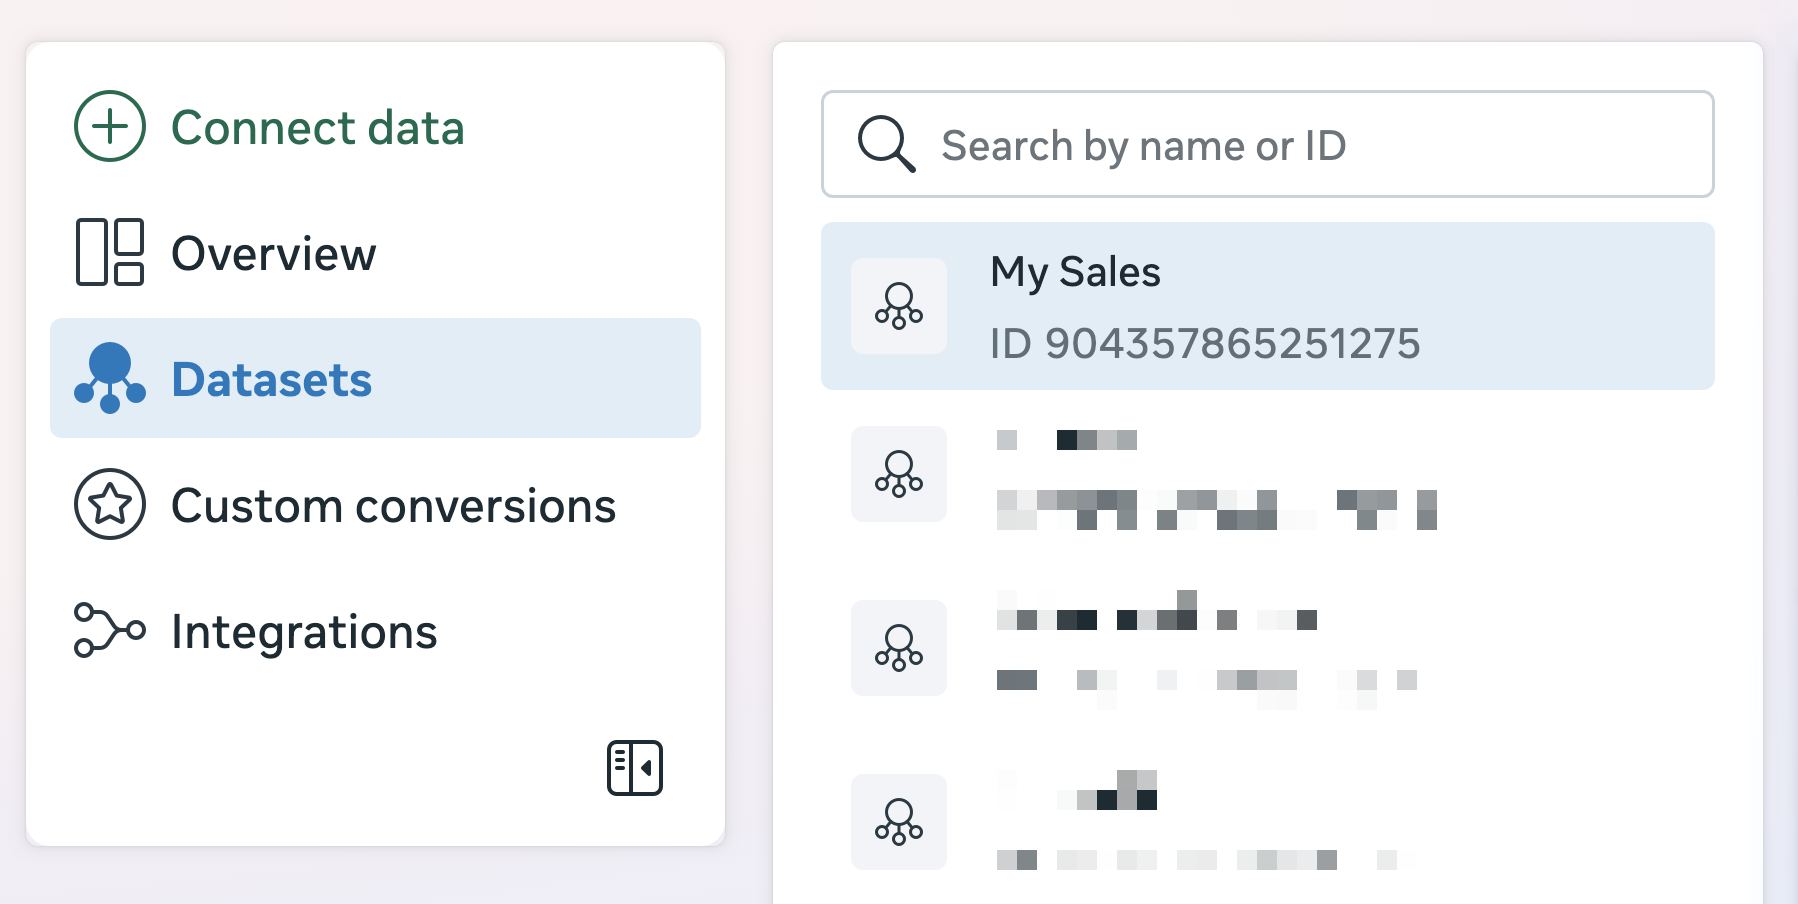
6. Copy the Dataset ID from the Overview tab.
You’ll need this ID later as the Pixel ID when setting up your Explodely integration.

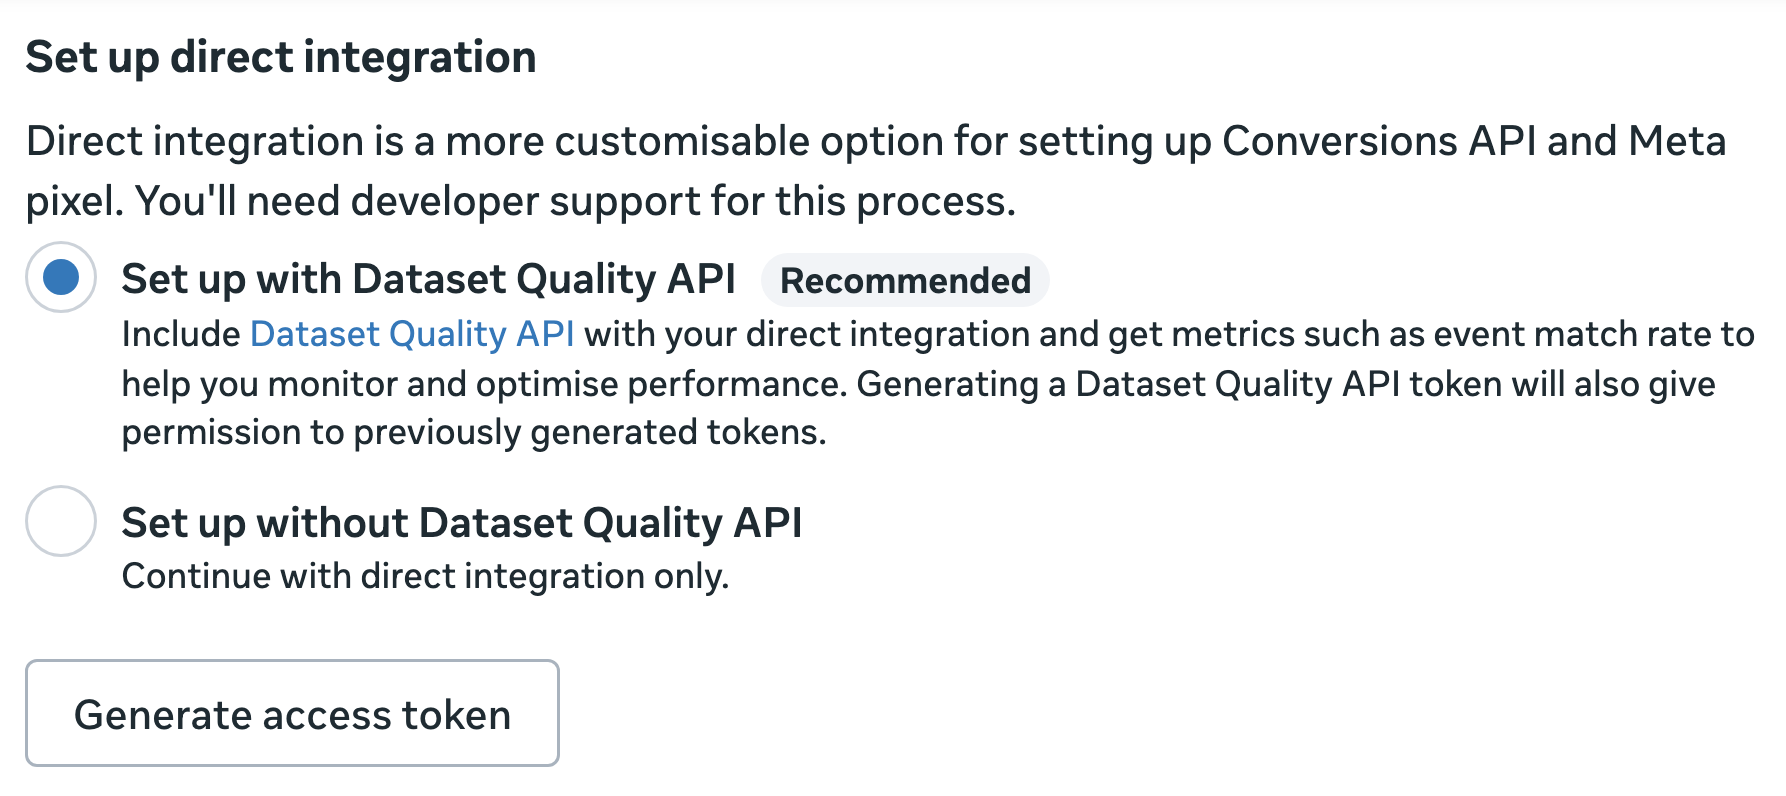
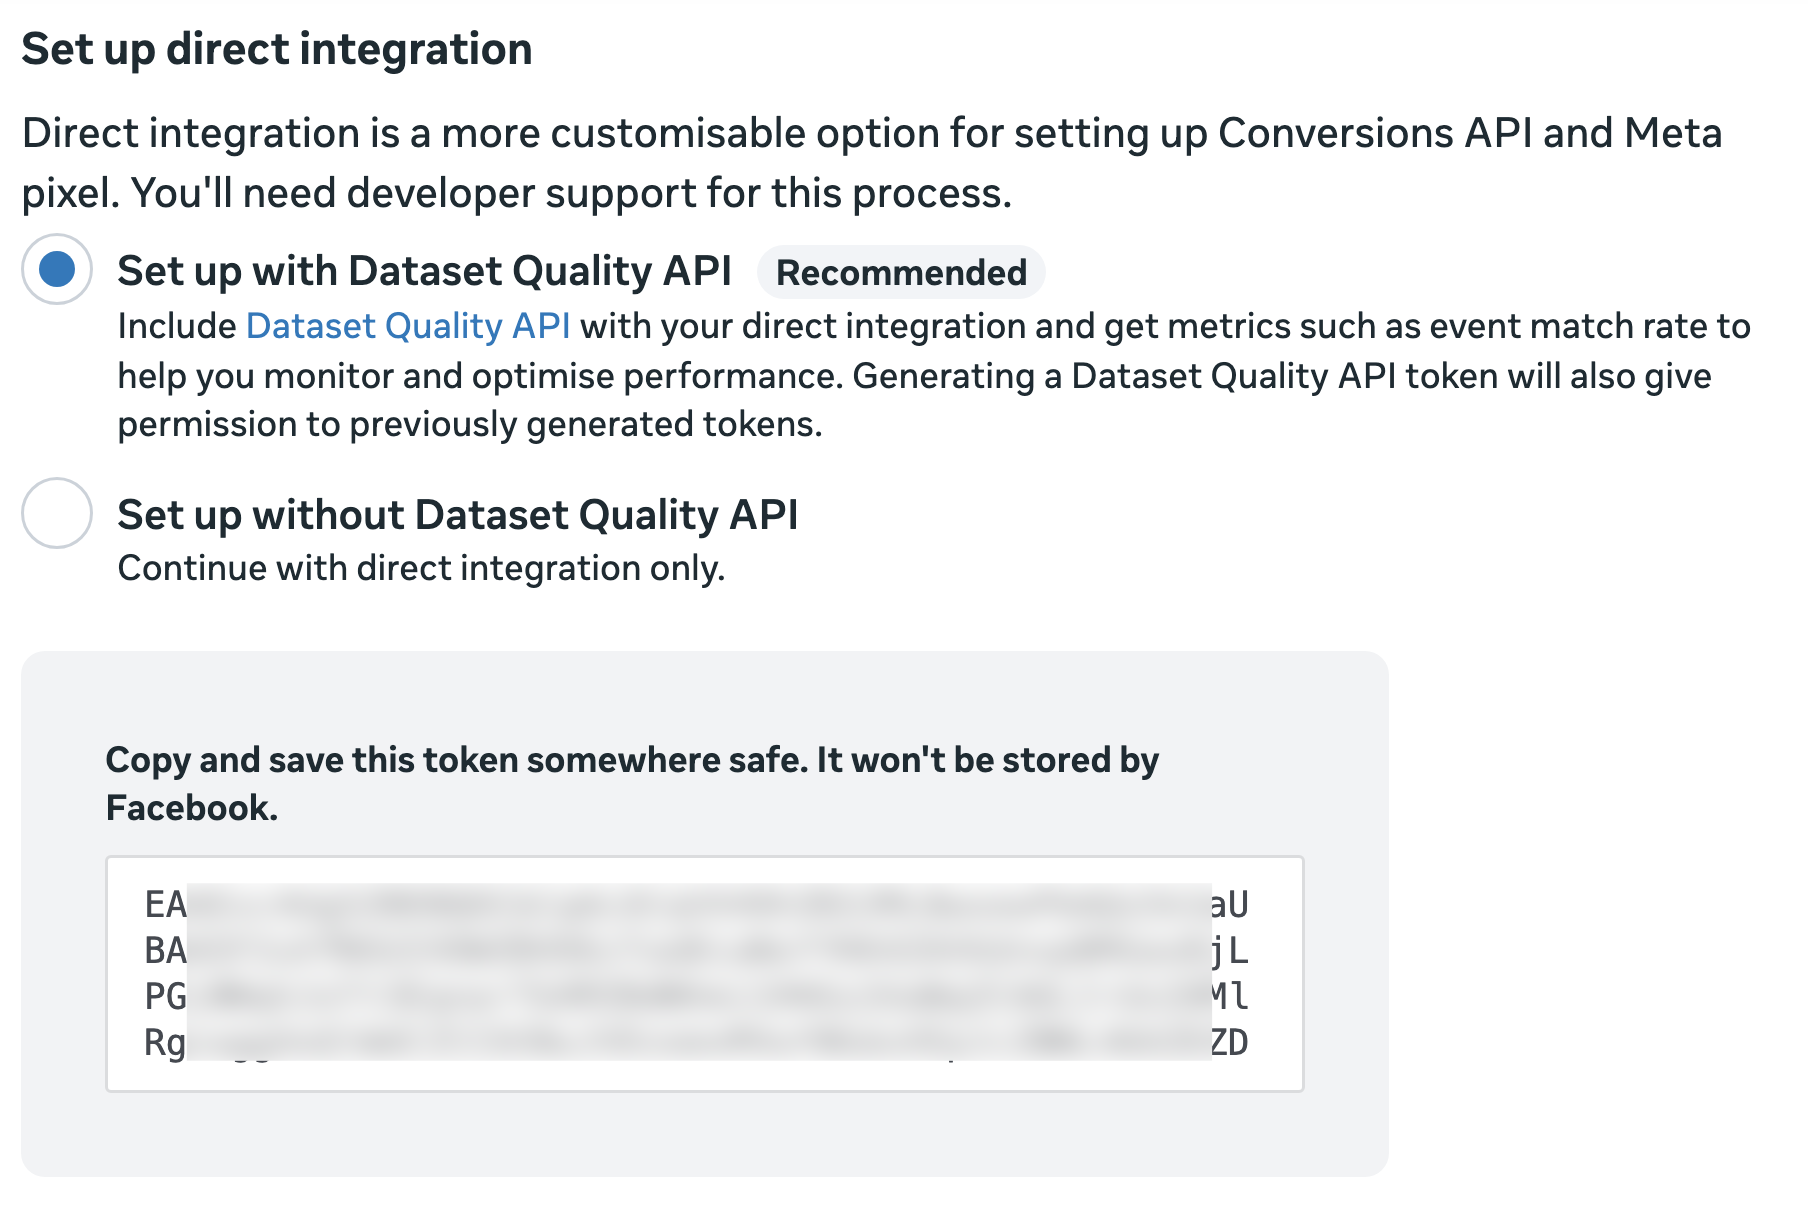
7. Navigate to the Settings tab, and then scroll down to the Direct Integration section and choose: Set up with Dataset Quality API (Recommended)
Once selected, click Generate Access Token.
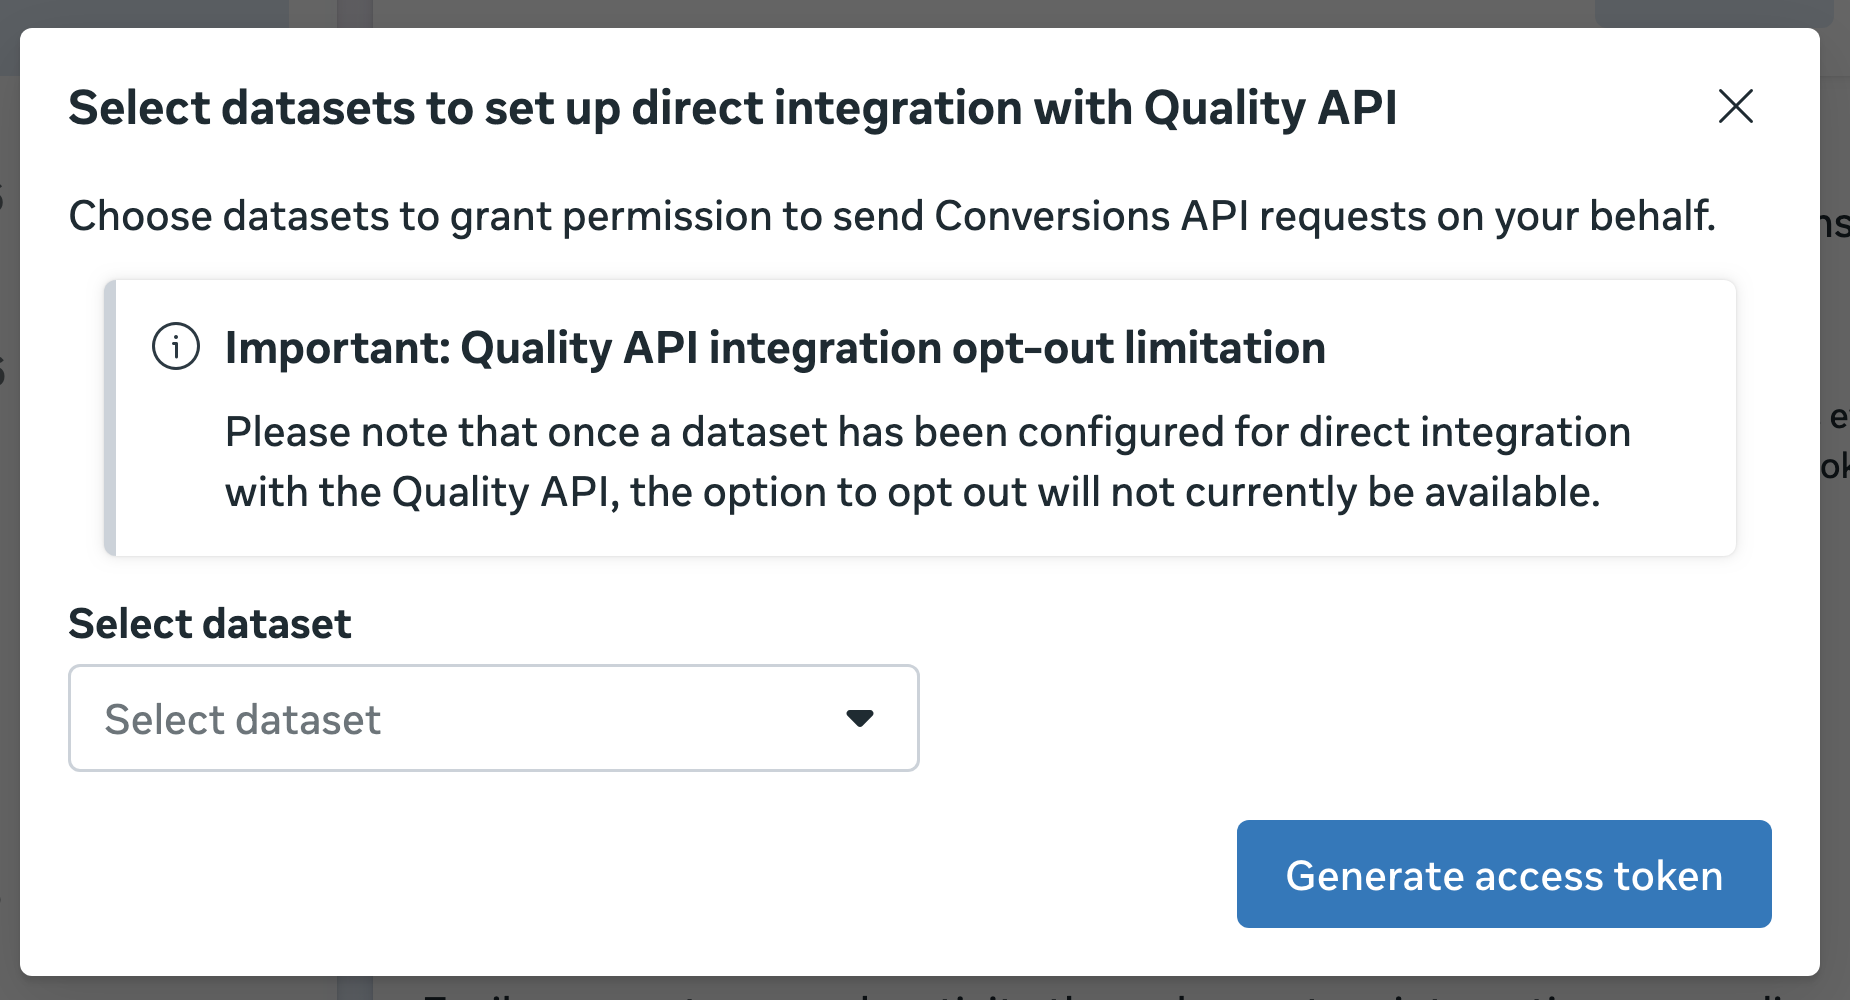
8. You'll choose your dataset from the dropdown and after selecting the dataset, click Generate access token.
Remove any datasets you see in the Select dataset dropdown, as we are only creating the Access Token for the current dataset.
9. Meta will instantly generate a token, copy and save it somewhere secure.
This is the Pixel token you'll enter to complete your setup inside Explodely.
Now that you have the Pixel ID and Token, let's move to the setup in Explodely.
II) Add Your Pixel and Token Inside Explodely
1. Log in to Your Affiliate Account. Then go to Account and navigate to FB Pixel.

2. You will now see two fields: FB Pixel ID and FB Pixel Token

3. Enter your correct Pixel ID (Dataset ID) and Token you copied from FB, then click Update.

Your Facebook Pixel is now added to your account, and Explodely will automatically fire Initiate Checkout and Sale events whenever applicable.

You can add upto 5 FB pixels to your account by clicking on the Add button.

And you can remove the existing pixel by clicking on the Remove button.

III) Testing Integration
Once you've setup the integration, make a test sale using your affiliate link.
Then wait a bit and check the activity in FB Events Manager to make sure your new Dataset is receiving data from Explodely.
Please contact us if you have any questions or concerns at support@explodely.com.